
Help
School,Getting Started
Getting Your School Off the Ground – School Billing
Before you begin enrolling students or collecting payments, your school must be set up to process billing securely.
This guide explains how school billing works in a.school and what needs to be configured before you can begin charging families.
How School Billing Works
a.school uses Stripe as its secure payment partner. Stripe handles:
- Payment processing
- Fraud prevention
- Regulatory compliance
- Secure fund transfers
Before billing features are enabled, your school must complete Stripe verification and connect a bank account for payouts.
Billing must be active before you can:
- Charge tuition
- Create paid enrollments
- Receive payouts
Stripe Verification
To activate billing, you must submit your business information through Stripe.
To begin:
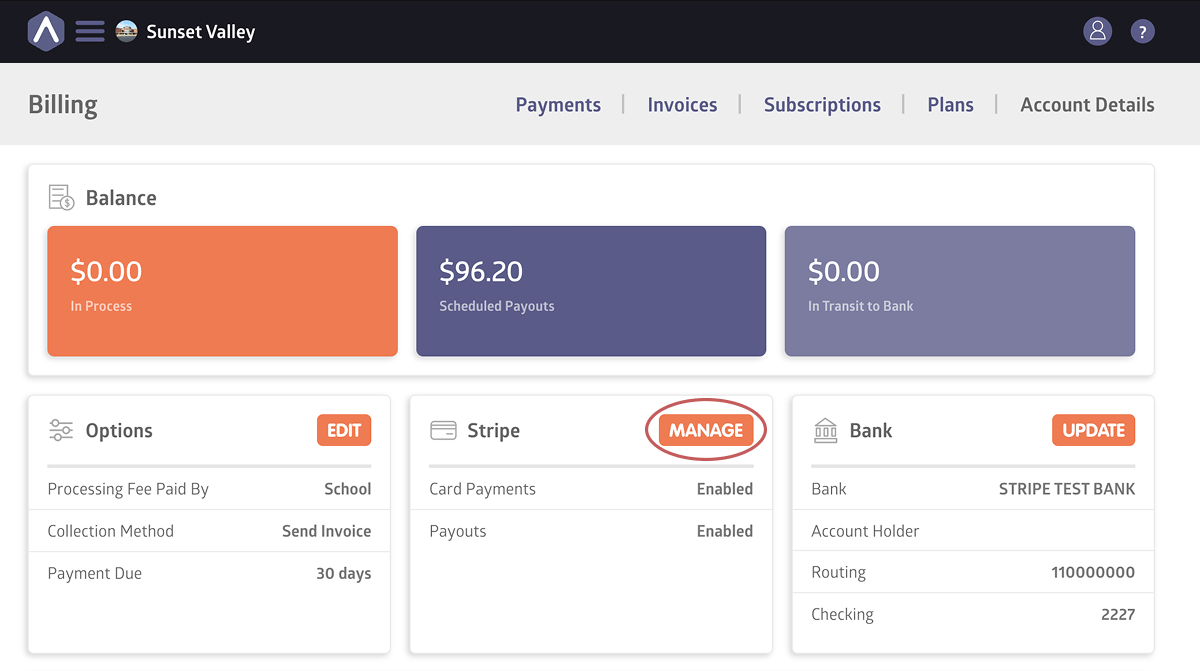
- Navigate to Billing from the sidebar navigation
- Select the Account Details tab
- Click Manage in the Stripe Section
From there, follow the prompts to complete your business verification.
Stripe requires verification to:
- Confirm your business identity
- Protect against fraud
- Ensure funds are routed correctly
Once you complete the Stripe form, you’ll be redirected back to a.school. If any information is missing, the Billing page will notify you.
Verification typically takes a few days. If it takes longer than expected, please contact support at hello@a.school.
Click here for detailed instructions on verifying your business information through Stripe.
Connecting Your Bank Account
After verification, you must connect a valid bank account. This allows Stripe to deposit collected funds into your account.
To connect a bank account:
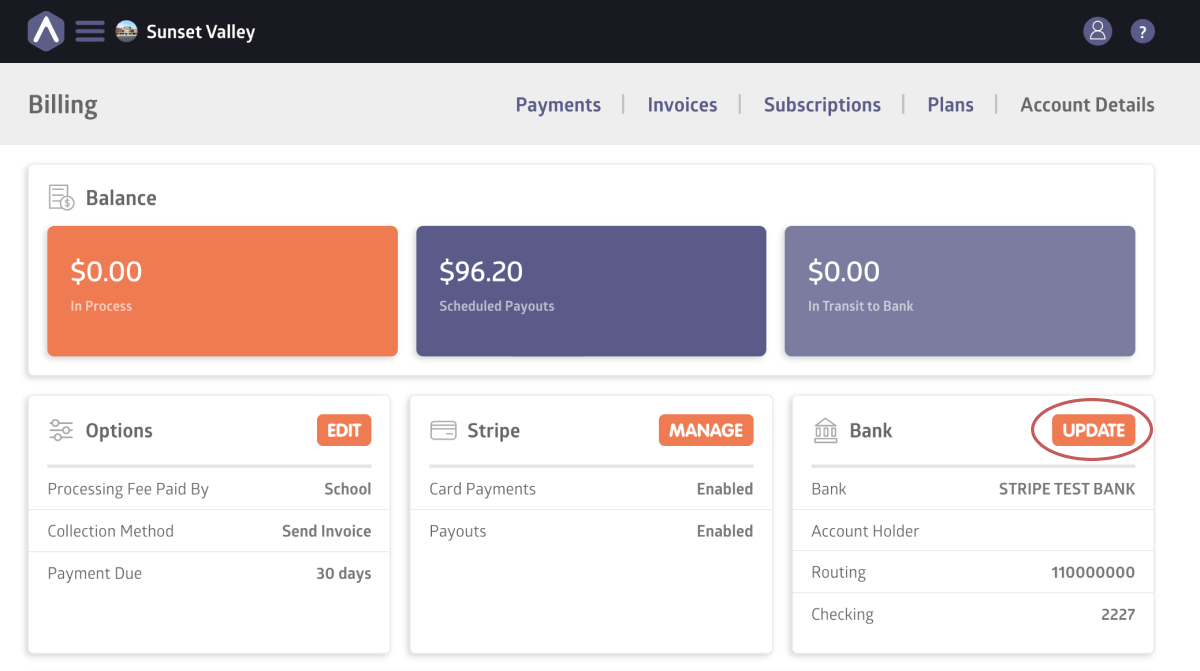
- Navigate to Billing from the sidebar navigation
- Select the Account Details tab
- Click Manage in the Bank Section
Without a connected bank account:
- Payments can be processed
- But payouts cannot be issued
Make sure your bank details are accurate to avoid delays.
Click here for detailed instructions on connecting your bank account.
Why Proper Billing Setup Matters
When billing is configured correctly:
- Payments process smoothly
- Families trust the system
- Payouts are predictable
- Financial reporting remains accurate
Taking time to complete verification properly prevents payment issues later.
Still stuck? Shoot us an email and we’ll do our best to help.