
Help
School
Managing Documents with the Resource Hub
The Resource Hub gives your school a single place to organize and share important documents with students and families. Instead of sending files via email or storing them across multiple tools, the Resources Hub keeps everything centralized, up to date, and easy to access.
To access the Resource Hub:
- Log in to your a.school admin account
- Click Resources in the left-hand navigation menu
You’ll be taken to the main Resources view, where all uploaded documents and categories are listed.
From this page, you can:
- View all uploaded resources
- Filter or browse by category
- See which resources are pinned
- Identify newly added documents
Adding a Resource
A resource is any file, such as a calendar, policy, or form, that your school uploads to share with students or guardians.
To upload a new resource:
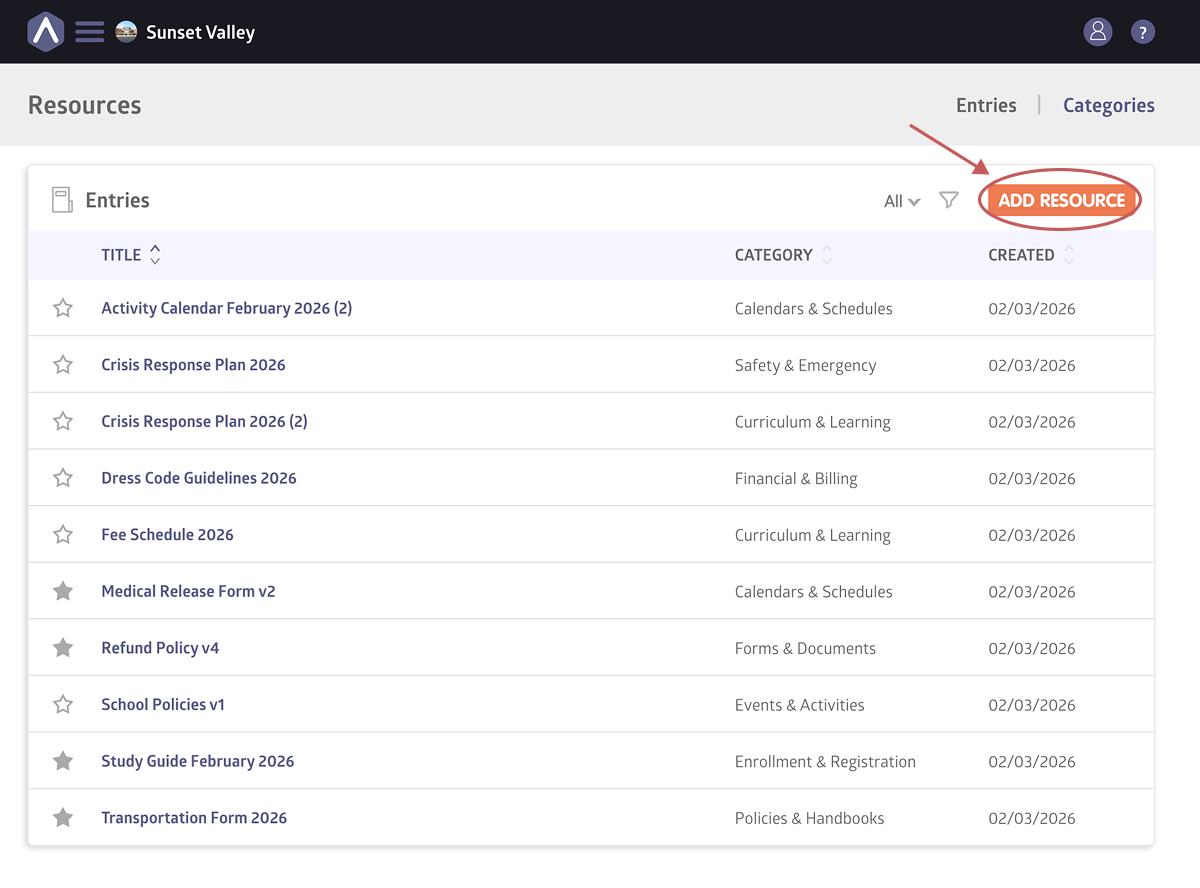
- From the Resources page, click Add Resource
- Enter a Title (this is what families will see)
- Optionally add a Description for additional context
- Select a Category
- Upload a feature image
- Click Create Resource
New resources are saved as Draft by default. Draft resources are not visible to families or staff until they are published.
Once created, you can use the Visibility settings to publish the resource, pin it to the top of the list, and control who can access it.
Editing or Removing a Resource
To edit or remove an existing resource:
- Select a resource from the list
- Click Edit in the upper-right corner to make changes, or
- Select Remove Entry from the actions menu to delete the resource
Removed resources are no longer visible to students or guardians.
Visibility Settings
Each resource includes a Visibility section that lets you control how it appears and who can access it.
From the Visibility settings, you can:
- Publish the resource so it becomes visible
- Pin the resource to the top of the Resources page
- Choose who can access the resource
Resources must be published before they become visible to students or guardians.
Adding Files to a Resource
Resources can include one or more files, allowing you to group related documents together under a single resource.
To add files to a resource:
- From the Resources page, select the resource you want to update
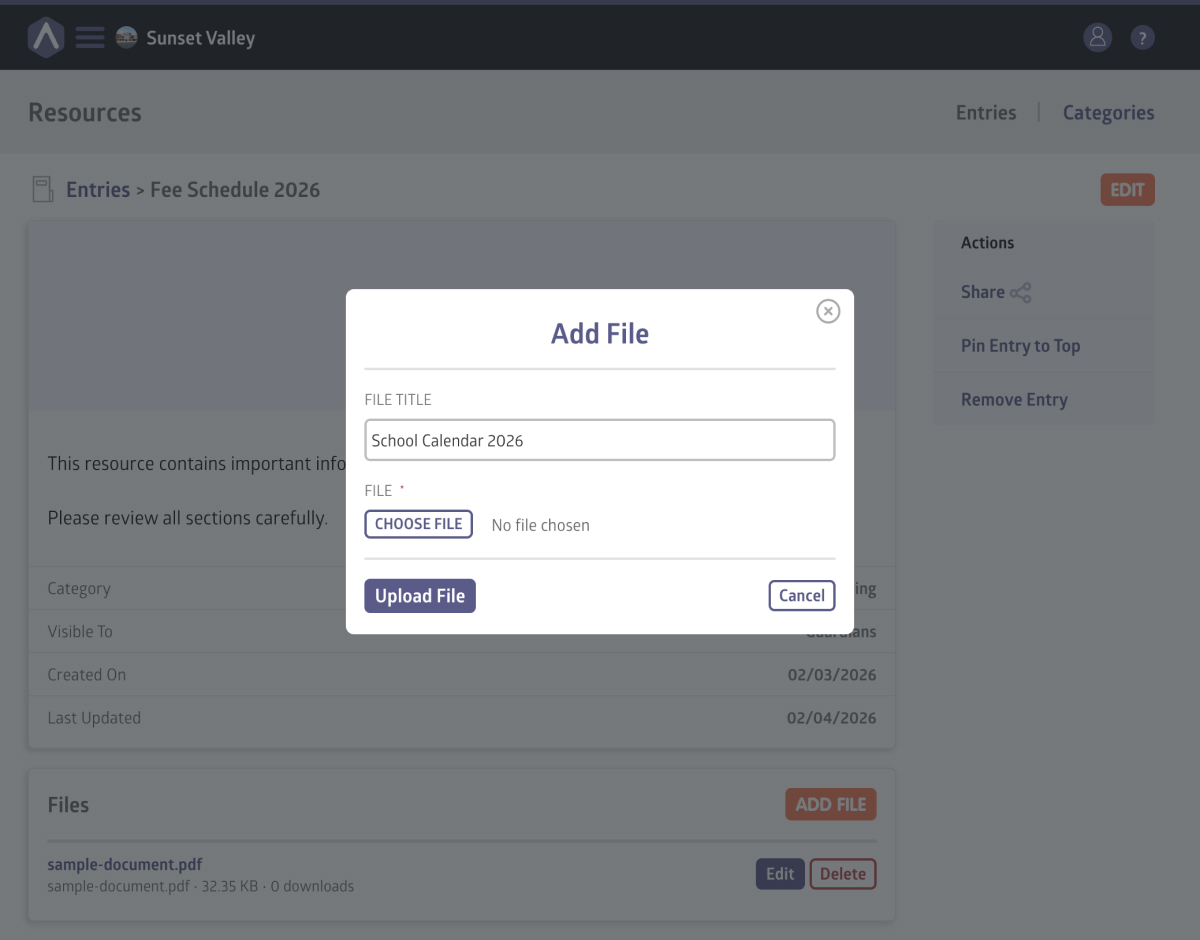
- Click Add File
- Choose a file from your computer and assign it a title
- Click Upload File
The newly added file will appear within the resource. Files become visible to students or guardians once the resource has been published.
The Resources Hub supports the following file types: jpg, jpeg, png, gif, webp, pdf, doc, docx, xls, xlsx, txt, csv, zip, mp3, mp4, mov, avi. The maximum file size is 100MB per file.
Sharing a Resource
Resources can only be shared after they have been published.
Once published, click Share under the Actions menu to send the resource via in-app message or by copying and sharing a dedicated link.
You can share a resource with:
- The entire school
- A specific class or studio
- An individual family
This allows you to notify the right people when new documents become available.
Creating a Category
Categories help organize resources so families can find what they need more easily.

To create a category:
- Click Categories near the top of the Resources page
- Select Add Category
- Enter a category name (e.g., Policies & Handbooks or Calendars & Schedules)
- Click Save
Your new category will now be available when uploading resources.
Still stuck? Shoot us an email and we’ll do our best to help.