
Help
School
Forms
Forms help you gather and organize important information—whether you’re onboarding new users, collecting feedback, or processing requests. You can customize fields, add validation rules, and structure your form to ensure accurate and efficient data collection.
Once created, forms can be shared, published, and managed to streamline workflows and improve user engagement.
Creating a Form
You can customize a form based on your needs by selecting different field types. Here’s how to build your form:
- Head to your School page and click Forms in the top navigation
- Click Add Form to start a new form
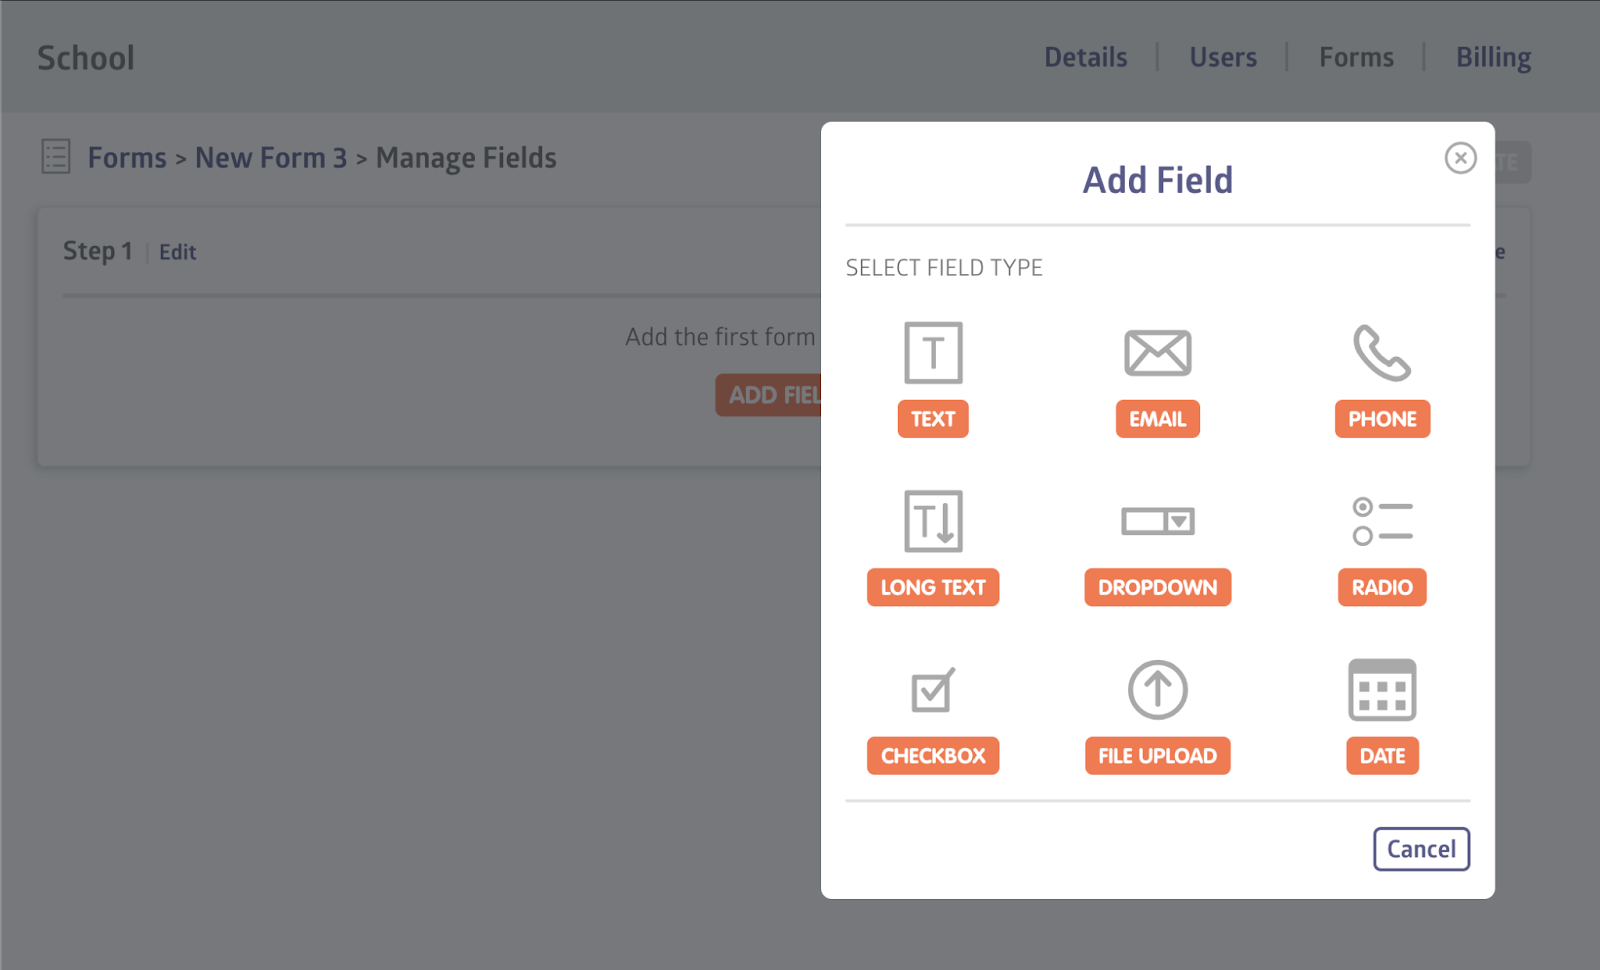
- Select Manage Fields, then click Add Field to customize your form
- Choose a Field Type based on the type of information you need:
- Text: Collect short answers like names or addresses
- Email: Ensure users enter a properly formatted email address
- Phone: Capture phone numbers with proper formatting
- Long Text: Allow users to provide detailed responses
- Dropdown: Offer a predefined list of options
- Radio: Let users select one option from multiple choices
- Checkbox: Allow users to select multiple options
- File Upload: Collect attachments like resumes, PDFs, or images
- Date: Let users select a date from a calendar
- (Optional) Click Add a Step to organize your form into sections (e.g., Personal Details, Payment Info)
- Once you’ve added a number of field types and steps, you can preview your final form by clicking Preview in the upper right corner
- When you’re happy with your selection of field types and steps, click Update to save your changes
Viewing Form Submissions
Once your form has been created and used, you can view the information users submit.
To do so:
- Head to the Forms page
- Select the form you want to review
- Click Submissions on the right-hand side
- View, manage, or analyze the submitted data
Require Form Completion on Login
You can require users to complete a form before accessing school features. This ensures that important information is submitted without delay.
Here’s how to set it up:
- Go to School > Forms.
- Find the form you want to require and click Edit Form Details.
- In the edit modal, check Require Completion on Login.
- Choose who must complete the form:
- * Families (default)
- * Students
- * Guardians
- * Staff
- * All Users
- Click Update to save your changes.
Important Notes:
- The form must be published.
- This setting applies only to logged-in users (not public forms or enrollment forms).
- Users with pending forms will see a blocking message and will be unable to access school features until the form is submitted.
- User settings and billing (including invoices and payments) remain accessible.
Exporting Submissions
If you need to process data externally, you can download submissions as a CSV file:
- Click Export as CSV to download the responses
- Use the file in spreadsheets or data analysis tools
Exporting Submissions
If you need to process data externally, you can download submissions as a CSV file:
- Click Export as CSV to download the responses
- Use the file in spreadsheets or data analysis tools
Still stuck? Shoot us an email and we’ll do our best to help.